Why Stabilized Whipped Cream is Your Dessert Decorating Secret Weapon
Imagine piping delicate swirls onto a birthday cake, frosting a batch of cupcakes for a school bake sale, or topping a stunning pie, only for your beautiful whipped cream to start wilting, weeping, and losing its majestic fluffiness just a few hours later. It’s a common frustration for home bakers and professional pastry chefs alike. Regular whipped cream, while undeniably delicious, has a fleeting lifespan, quickly succumbing to warmth and gravity. This is where
stabilized whipped cream steps in as your ultimate dessert decorating ally.
Unlike its ephemeral counterpart, stabilized whipped cream is engineered for longevity and resilience. It maintains its impeccable shape, retains its light-as-air texture, and resists deflating or becoming watery for significantly longer periods – often up to two days when refrigerated. This makes it an absolute game-changer for anyone who loves to decorate desserts in advance, prepare treats for parties, or simply wants their creations to look as good at serving time as they did coming out of the kitchen. Whether you’re crafting an elaborate tiered cake or simply topping a bowl of fresh berries, mastering stabilized whipped cream means saying goodbye to saggy frosting and hello to enduring elegance.
The Magic Behind the Mirth: How Stabilization Works
The secret to this whipped cream marvel lies in a simple yet incredibly effective addition: unflavored gelatin. While the idea of adding gelatin to whipped cream might sound unconventional at first, rest assured, it’s a technique that has been perfected over years and tastes exactly like the pure, unadulterated whipped cream you adore, but with superhero staying power. The gelatin creates a subtle internal structure within the cream, fortifying its delicate air pockets and preventing them from collapsing. This protein-based stabilizer binds with the moisture and fat in the cream, forming a light, stable matrix that locks in the volume and prevents separation. It’s this ingenious method that transforms a temporary topping into a long-lasting work of art, allowing your desserts to shine for hours, even at room temperature (though refrigeration is always recommended for optimal freshness and food safety). For a deeper dive into the science, you might find this article illuminating:
Stop Deflating Whipped Cream: Stabilize with Gelatin for Perfect Desserts.
Essential Ingredients for Your Fluffy Masterpiece
Creating a truly exceptional batch of
stabilized whipped cream starts with the right ingredients. Quality matters here, as each component plays a crucial role in achieving that perfect, long-lasting fluffiness.
*
Heavy Whipping Cream (or Heavy Cream): This is the star of the show! Look for cream with at least 36% milk fat for the best results. The higher fat content allows it to whip up quickly and hold more air, yielding a richer, more stable product. Always keep your heavy cream well-chilled in the refrigerator right up until you’re ready to use it. Cold cream whips faster and achieves greater volume.
*
Unflavored Gelatin: This is your stabilizing agent. Any brand of unflavored gelatin will work, but widely available options like Knox gelatin are excellent choices and can typically be found in the baking aisle near other dessert mixes. Ensure it is *unflavored* to prevent any unwanted taste interference.
*
Cold Water: A small amount of cold water is essential for hydrating, or "blooming," the gelatin. This crucial step ensures the gelatin dissolves smoothly without lumps when heated.
*
Powdered Sugar (Confectioners' Sugar): This provides sweetness without the graininess often associated with granulated sugar. Its fine texture dissolves instantly, contributing to a smooth, velvety finish. Adjust the amount to your personal taste preference.
*
Pure Vanilla Extract: For that classic, warm flavor that elevates any dessert. Always opt for pure vanilla extract over imitation for the best taste.
Step-by-Step: Crafting Your Perfect Stabilized Whipped Cream
If you've ever made regular whipped cream, you're already halfway there! The process for creating
stabilized whipped cream is remarkably similar, with just one extra step to incorporate the gelatin. Follow these easy instructions for a flawless result every time.
Prepping for Success: Chill and Bloom
Preparation is key to perfect stabilized whipped cream. Taking a few moments at the start will make all the difference.
- Chill Your Equipment: For optimal whipping success, place your mixing bowl (preferably metal or glass) and whisk attachment (from a stand mixer or hand mixer) in the freezer for 10-15 minutes before you begin. Cold equipment helps the cream whip up faster and achieve maximum volume, creating a truly fluffy texture.
- Bloom the Gelatin: In a small, microwave-safe bowl, sprinkle the unflavored gelatin powder evenly over a few teaspoons of cold water. Do not stir it initially. Allow the gelatin to sit undisturbed for 3 to 5 minutes. During this time, the gelatin granules will absorb the water, swell, and take on a wrinkled, translucent appearance. This "blooming" step is vital to prevent grainy lumps in your finished whipped cream.
- Gently Heat and Cool the Gelatin: Once bloomed, microwave the gelatin mixture for just 5-10 seconds on high. Remove it from the microwave and stir thoroughly until all the gelatin crystals have fully dissolved and the mixture is completely clear. If you see any undissolved granules, microwave for another 2-3 seconds and stir again. Be careful not to overheat it, as boiling can diminish its gelling properties. Set the dissolved gelatin aside to cool slightly to room temperature while you prepare the cream. It should still be liquid but not hot when added to the whipped cream.
Whipping Wonders: Combining and Stabilizing
Now for the exciting part – transforming cold cream into a cloud of deliciousness!
- Whip the Cream to Soft Peaks: In your chilled mixing bowl, combine the cold heavy whipping cream, powdered sugar, and pure vanilla extract. Using your chilled whisk attachment, begin whipping the mixture on medium-low speed, gradually increasing to medium-high. Continue whipping until the cream begins to thicken and soft peaks form. Soft peaks are when the cream holds its shape somewhat, but the tips curl over when the whisk is lifted.
- Slowly Incorporate the Gelatin: With the mixer still running on medium speed, slowly and steadily pour the slightly cooled, dissolved gelatin mixture into the whipped cream. Pour it in a thin stream directly into the moving cream. This ensures even distribution and prevents any localized gelling.
- Whip to Stiff Peaks: Immediately increase the mixer speed to medium-high and continue beating until stiff peaks form. Stiff peaks stand straight up when the whisk is lifted. This stage won’t take long after the gelatin is added, so keep a close eye on it to avoid over-mixing. Over-mixing can cause the whipped cream to become grainy or turn into butter. Once stiff peaks are achieved, stop the mixer immediately.
Your
stabilized whipped cream is now ready to use! It's perfect for piping, frosting, and garnishing. For specific ideas on how this remarkable cream can transform your planning, explore
Decorate Ahead! Stabilized Whipped Cream That Holds Shape for Days.
Expert Tips for Flawless Stabilized Whipped Cream
Achieving perfect stabilized whipped cream consistently involves a few insider tips and knowing how to troubleshoot common issues.
*
Temperature is Paramount: Beyond chilling your equipment, ensure your heavy cream is as cold as possible. The colder the cream, the faster and fluffier it will whip.
*
Don't Rush the Bloom: Skipping or shortening the gelatin blooming time is a common mistake that leads to grainy whipped cream. Give it the full 3-5 minutes to properly hydrate.
*
Cool the Gelatin: Adding hot gelatin to cold cream can cause the cream to seize or melt. Ensure the dissolved gelatin has cooled to at least room temperature (it should still be liquid) before incorporating it.
*
Prevent Over-mixing: Once the gelatin is added, the cream will stiffen quickly. Watch it closely and stop as soon as stiff peaks form. Over-mixing can break the emulsion, making the cream grainy, watery, or even turning it into butter.
*
Adjust Sweetness to Taste: The amount of powdered sugar suggested is a guideline. Feel free to add more or less depending on your preference and the sweetness of the dessert you're pairing it with.
Troubleshooting Common Issues
*
Grainy Whipped Cream: This usually means the gelatin wasn't fully dissolved or bloomed properly, or it was over-mixed. Ensure your gelatin is completely clear after heating and stop whipping as soon as stiff peaks appear.
*
Whipped Cream Won't Thicken: Most often, the cream wasn't cold enough, or it has too low a fat content (make sure it's "heavy whipping cream" or "heavy cream"). Your equipment also needs to be thoroughly chilled.
*
Deflated or Weeping Whipped Cream: While stabilized whipped cream lasts longer, improper storage or very warm conditions can still cause issues. Ensure it's refrigerated when not in use and try to keep it out of direct heat. If it's deflating rapidly, it might not have been whipped to full stiff peaks initially.
Creative Ways to Enjoy Your Stabilized Whipped Cream
The beauty of
stabilized whipped cream lies not just in its staying power, but in its versatility. Once mastered, it opens up a world of dessert possibilities that were previously off-limits with regular whipped cream.
*
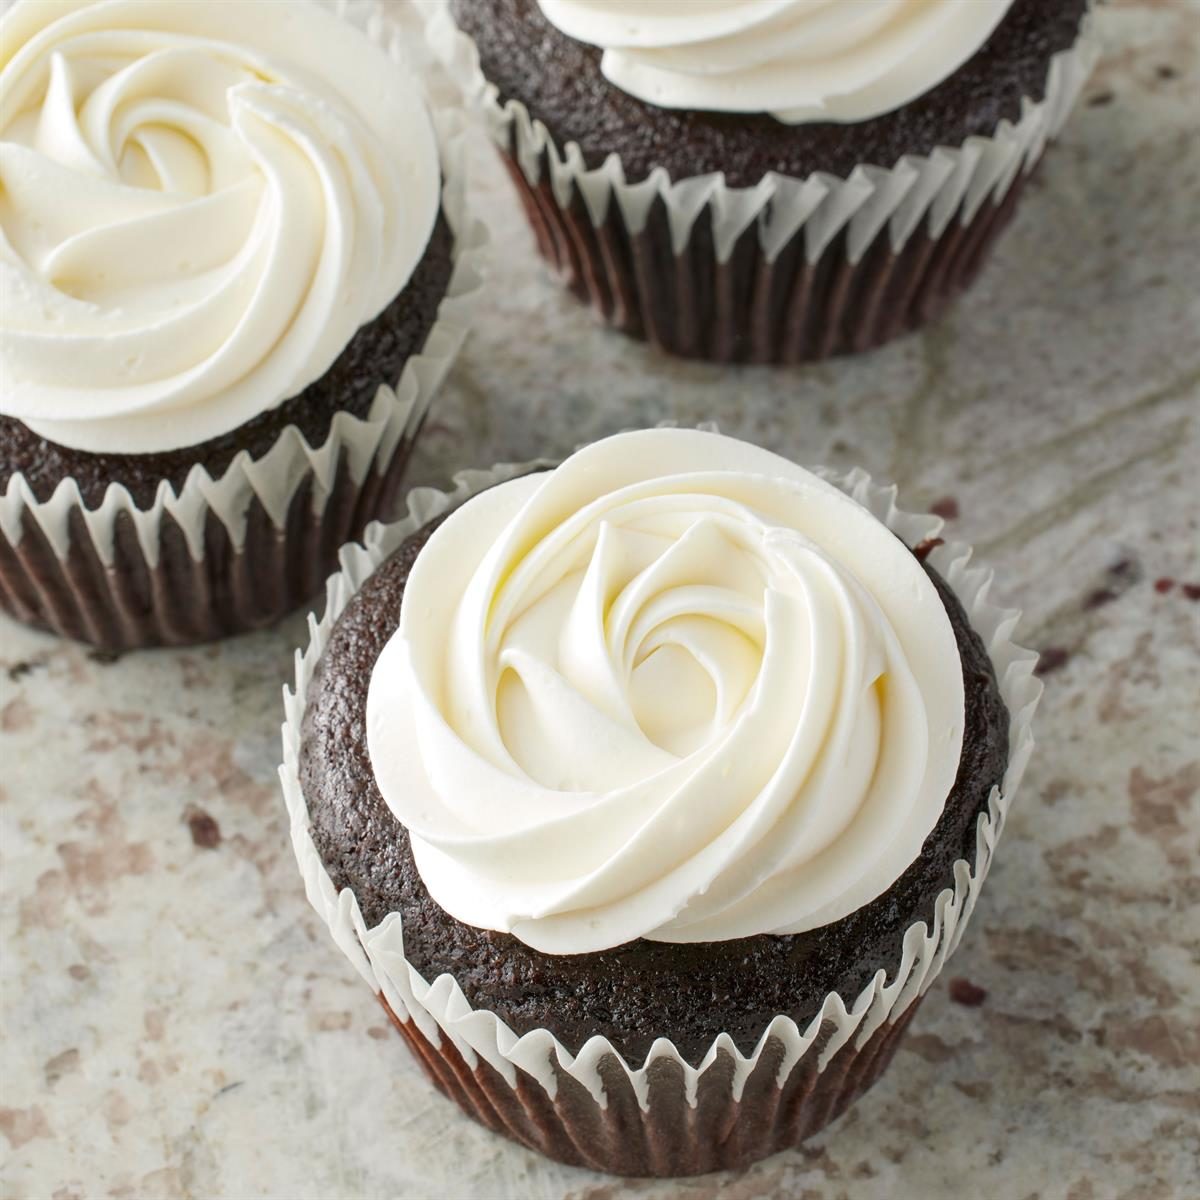
Cake and Cupcake Decorating: Pipe elaborate swirls, borders, or rosettes onto cakes and cupcakes without fear of them collapsing before your guests arrive. Its firm texture makes it ideal for detailed work.
*
Pie and Tart Topping: Create beautiful, lasting peaks on your favorite fruit pies, chocolate tarts, or creamy cheesecakes.
*
Layered Desserts: Perfect for parfaits, trifles, and verrines, where its stable layers won't seep into other components.
*
Fruit Dips and Fillings: Use it as a delightful, stable dip for fresh fruit platters or as a light filling for crepes, pastries, or even profiteroles.
*
Hot Beverage Topping: Add a generous dollop to hot chocolate, coffee, or specialty lattes for a treat that melts slowly, enhancing the drink rather than disappearing instantly.
*
Sandwich Cookies: Fill delicate meringue cookies or shortbread with stabilized whipped cream for an elegant and delicious treat that holds its form.
Its smooth texture and ability to hold shape make it a decorator's dream, allowing you to prepare stunning desserts hours or even a day in advance without compromising on presentation.
Conclusion
Mastering
stabilized whipped cream is a truly invaluable skill for any home baker or dessert enthusiast. By simply incorporating unflavored gelatin, you transform a delicate, fleeting topping into a robust, long-lasting frosting that maintains its luxurious texture and beautiful shape for days. No more last-minute whipping, no more deflated decorations, and no more watery puddles – just pure, fluffy, stable deliciousness. Follow this easy guide, embrace the power of stabilization, and elevate your desserts to new heights of beauty and endurance. Your cakes, pies, and parfaits (and your guests!) will thank you for it.